Overview - Workflow
Table of contents
Workflow
SmartyGrants allows users to create and manage a Workflow for each program. Workflows can be used to assist users in following the established grantmaking process employed by your organisation.
Workflows are composed of Stages, Rules and Tasks.
During implementation, your Implementation Manager will create and set up your workflows in collaboration with you.
Perhaps you are accustomed to managing grants using a different grants management system. Perhaps you’ve previously used a combination of separate software not purpose-built for grants, or maybe you’re transitioning from an entirely paper-based process to an online one.
Because of this, when your Implementation Manager is translating your processes into SmartyGrants, Workflows may evolve to save you time, energy and effort. So that you can provide meaningful feedback on these optimisations, it’s important to understand basic workflow functions.
You do not need to be an expert yet! Workflows interacts with many different parts of the system, and so this next section will walk you through the concepts at a high level. The goal is to expose you to the possibilities that workflows can create.
Later on in your learning journey, you will discover how to design, create and manage your own workflows.
Navigation
Each program has its own associated workflow.
It can be accessed from the Workflow tab of a specific Program.
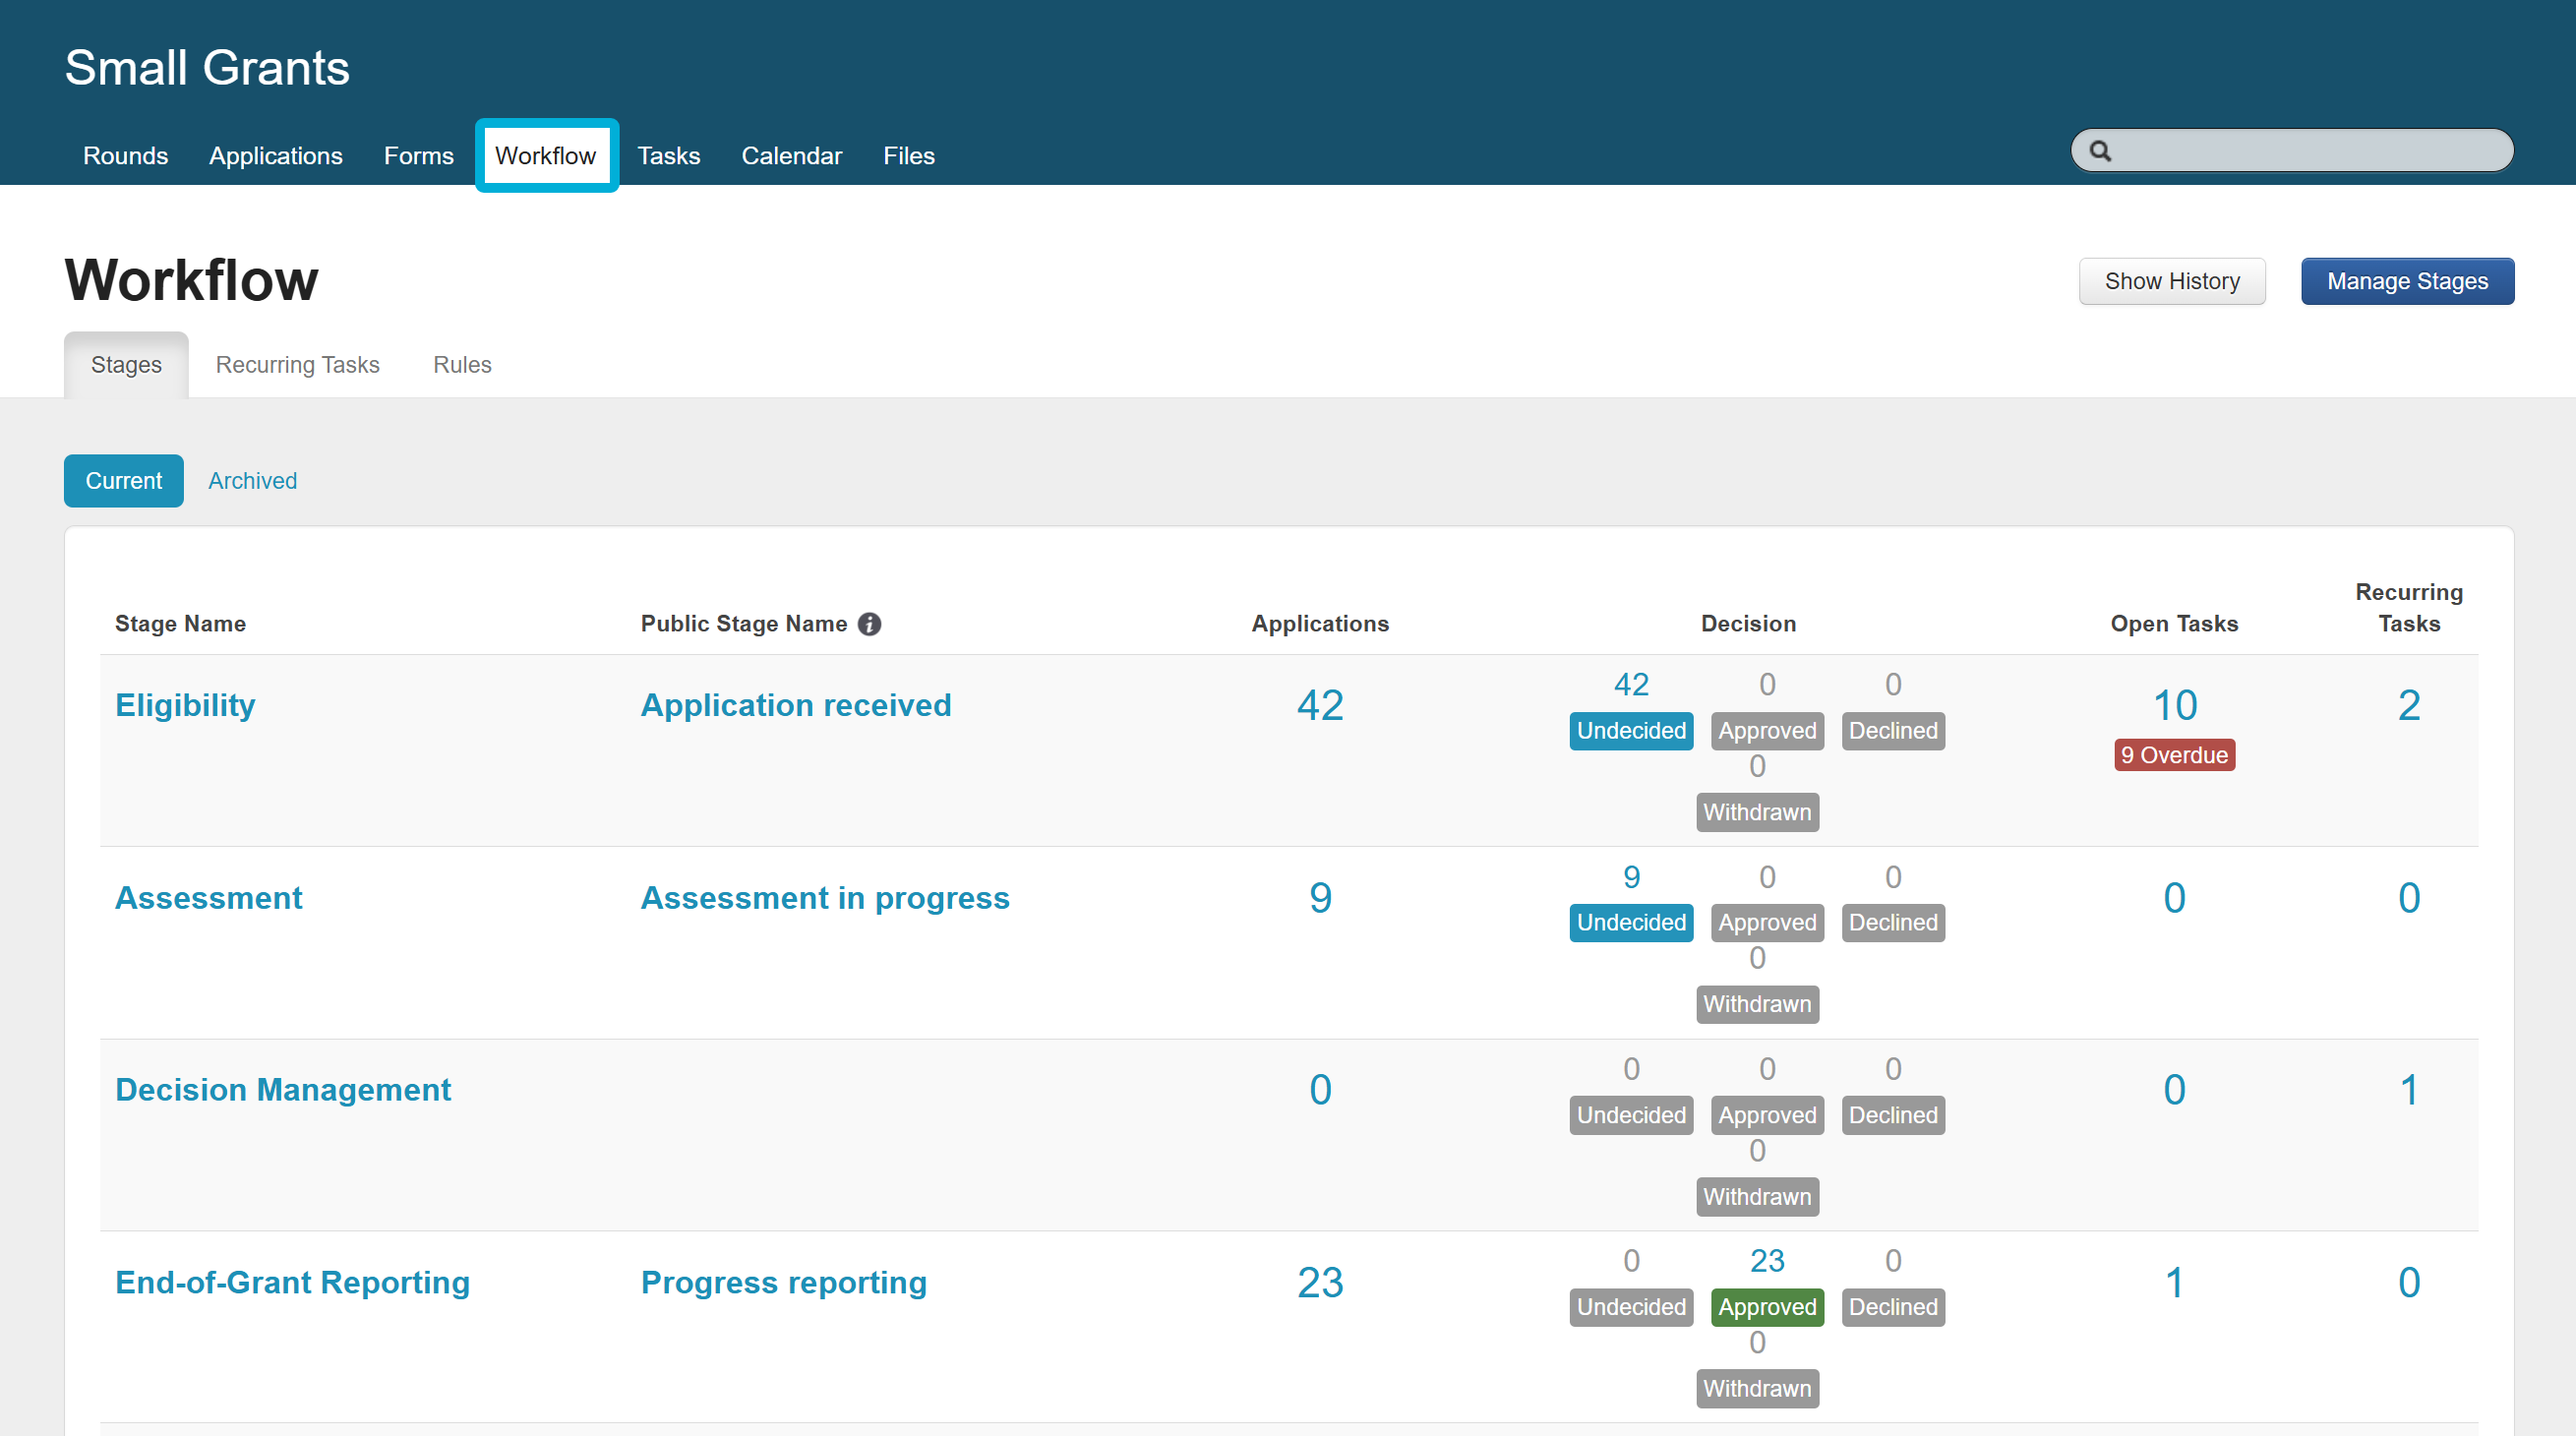
Stages
Stages work like folders to categorise and house applications within. They are used to represent the status of (or milestone in which) applications sit within your funding lifecycle. By design, they are reusable for each round you run.
Example
Consider the following set of stages:
Eligibility
Assessment
Decision Management
End-of-Grant Reporting
Completed
Unsuccessful
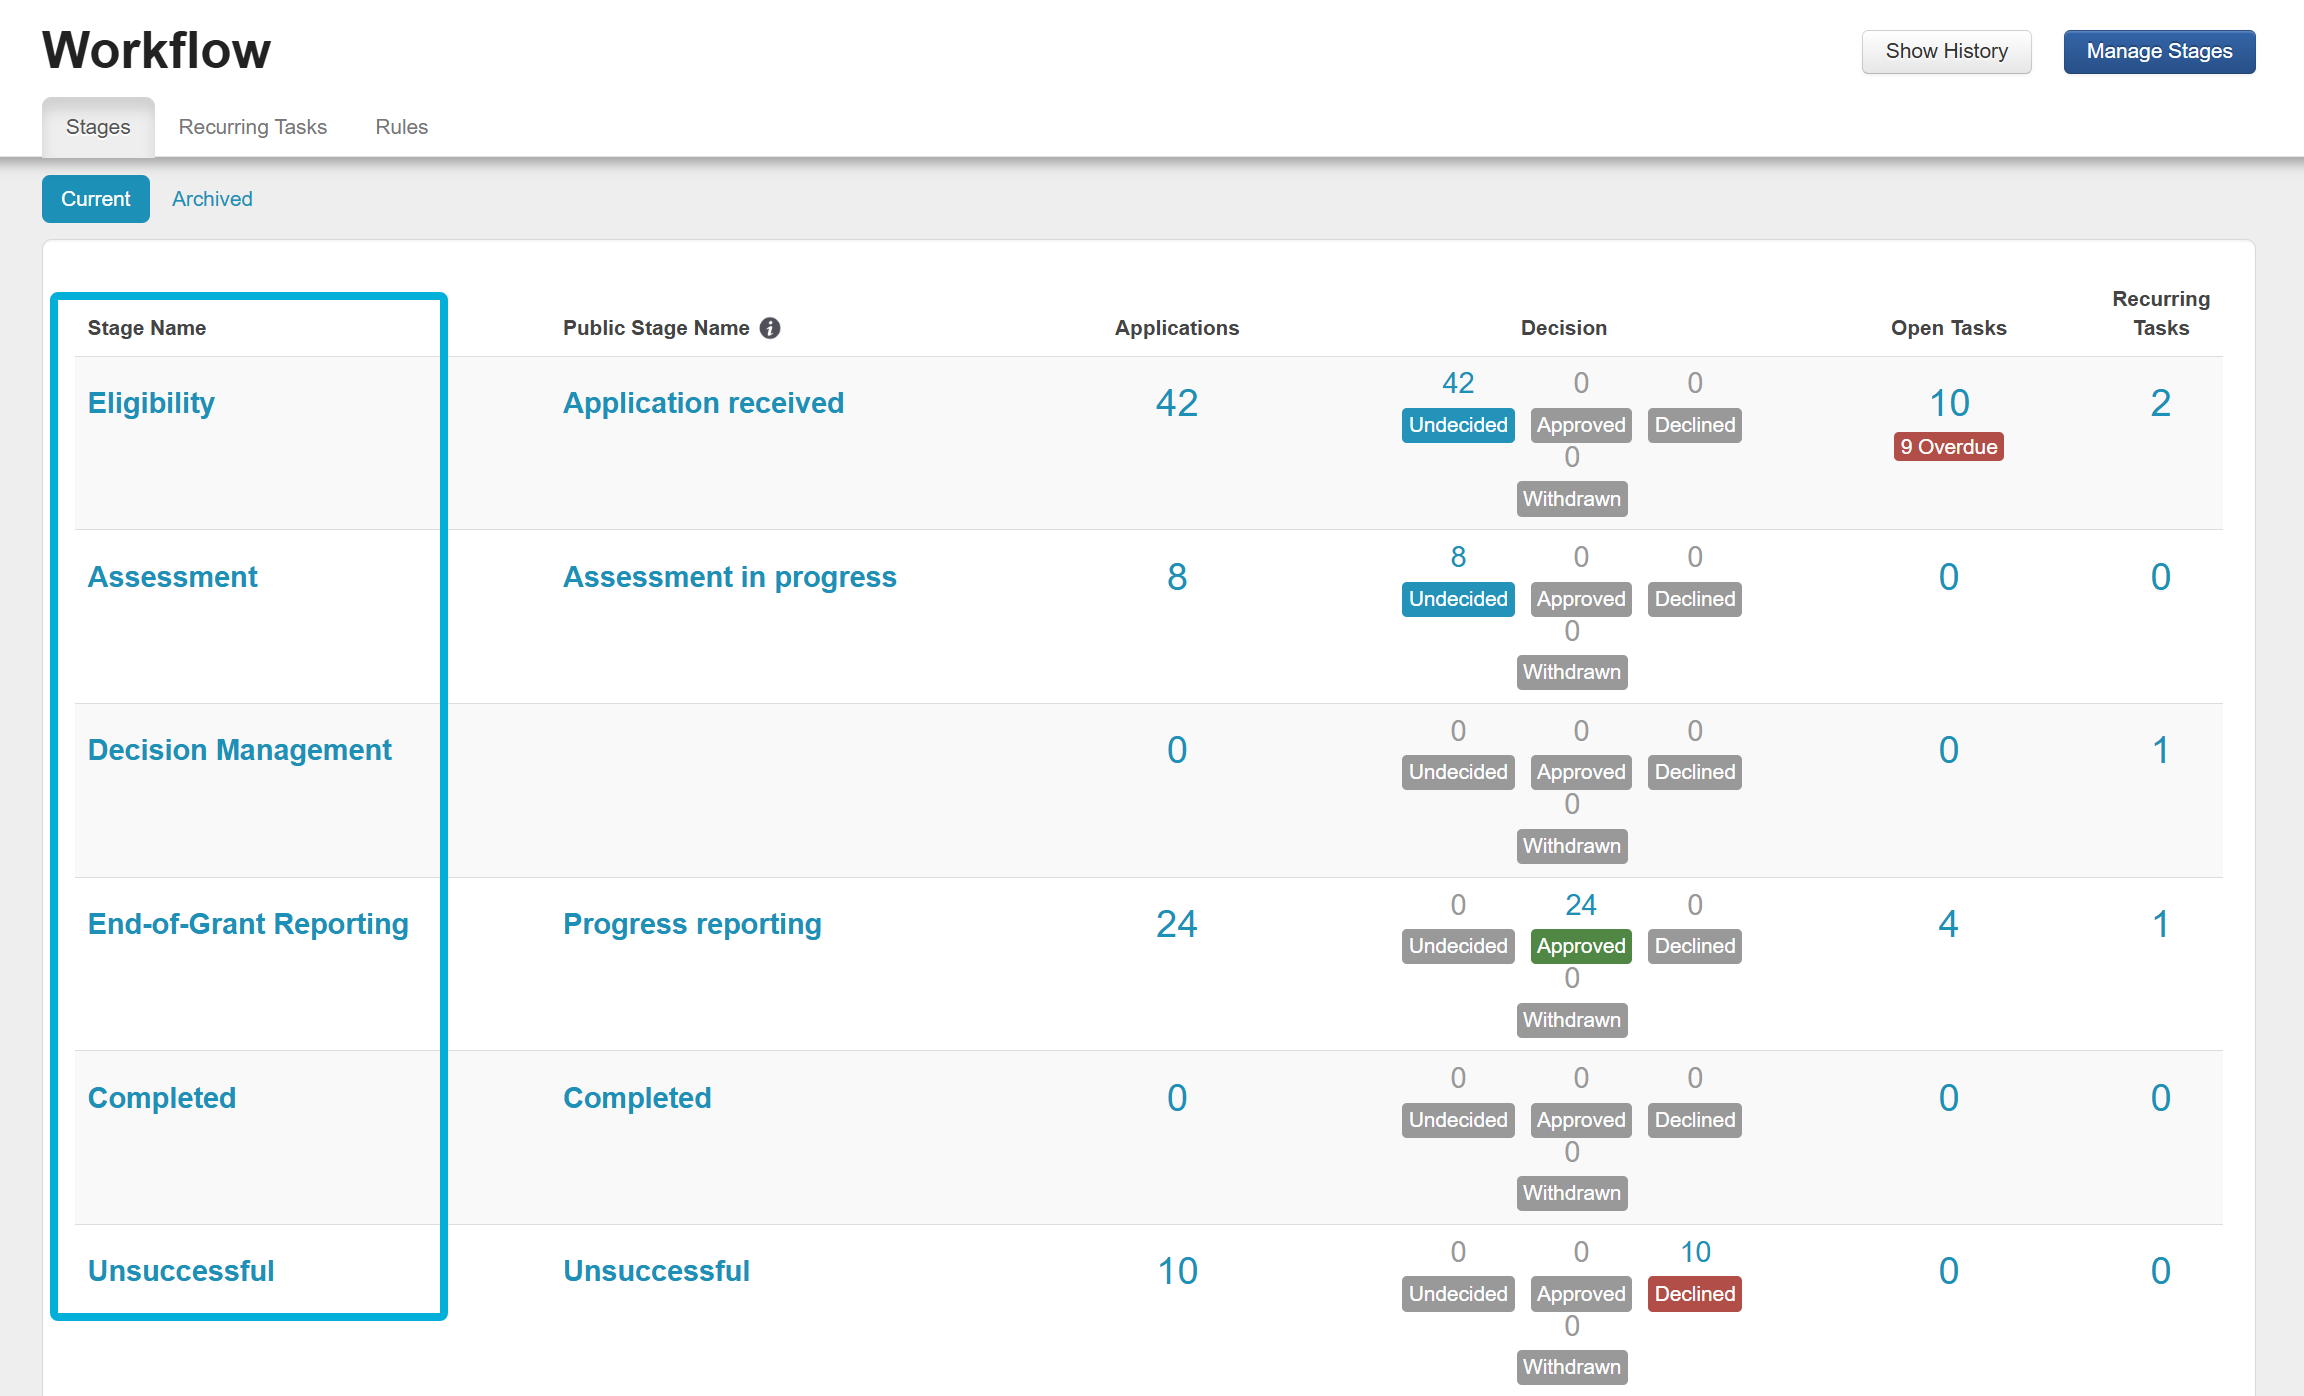
Each of these stages describes a milestone that an application can progress through. You may have more or fewer stages in your own grantmaking process.
Changing an application’s stage can be achieved:
Manually
For example, a user updates the stage from the individual application record.
Automatically
For example, with a Rule or Task (more on these shortly).
Tip: Moving applications into stages does not need to be done sequentially.
Using the above example, if an application is currently in Eligibility, it might later be moved (manually or automatically) into Assessment or Unsuccessful.
Stage overview
The Stage overview screen shows information about all applications and tasks in the selected stage. You would navigate here by selecting a stage name under the Stages tab.

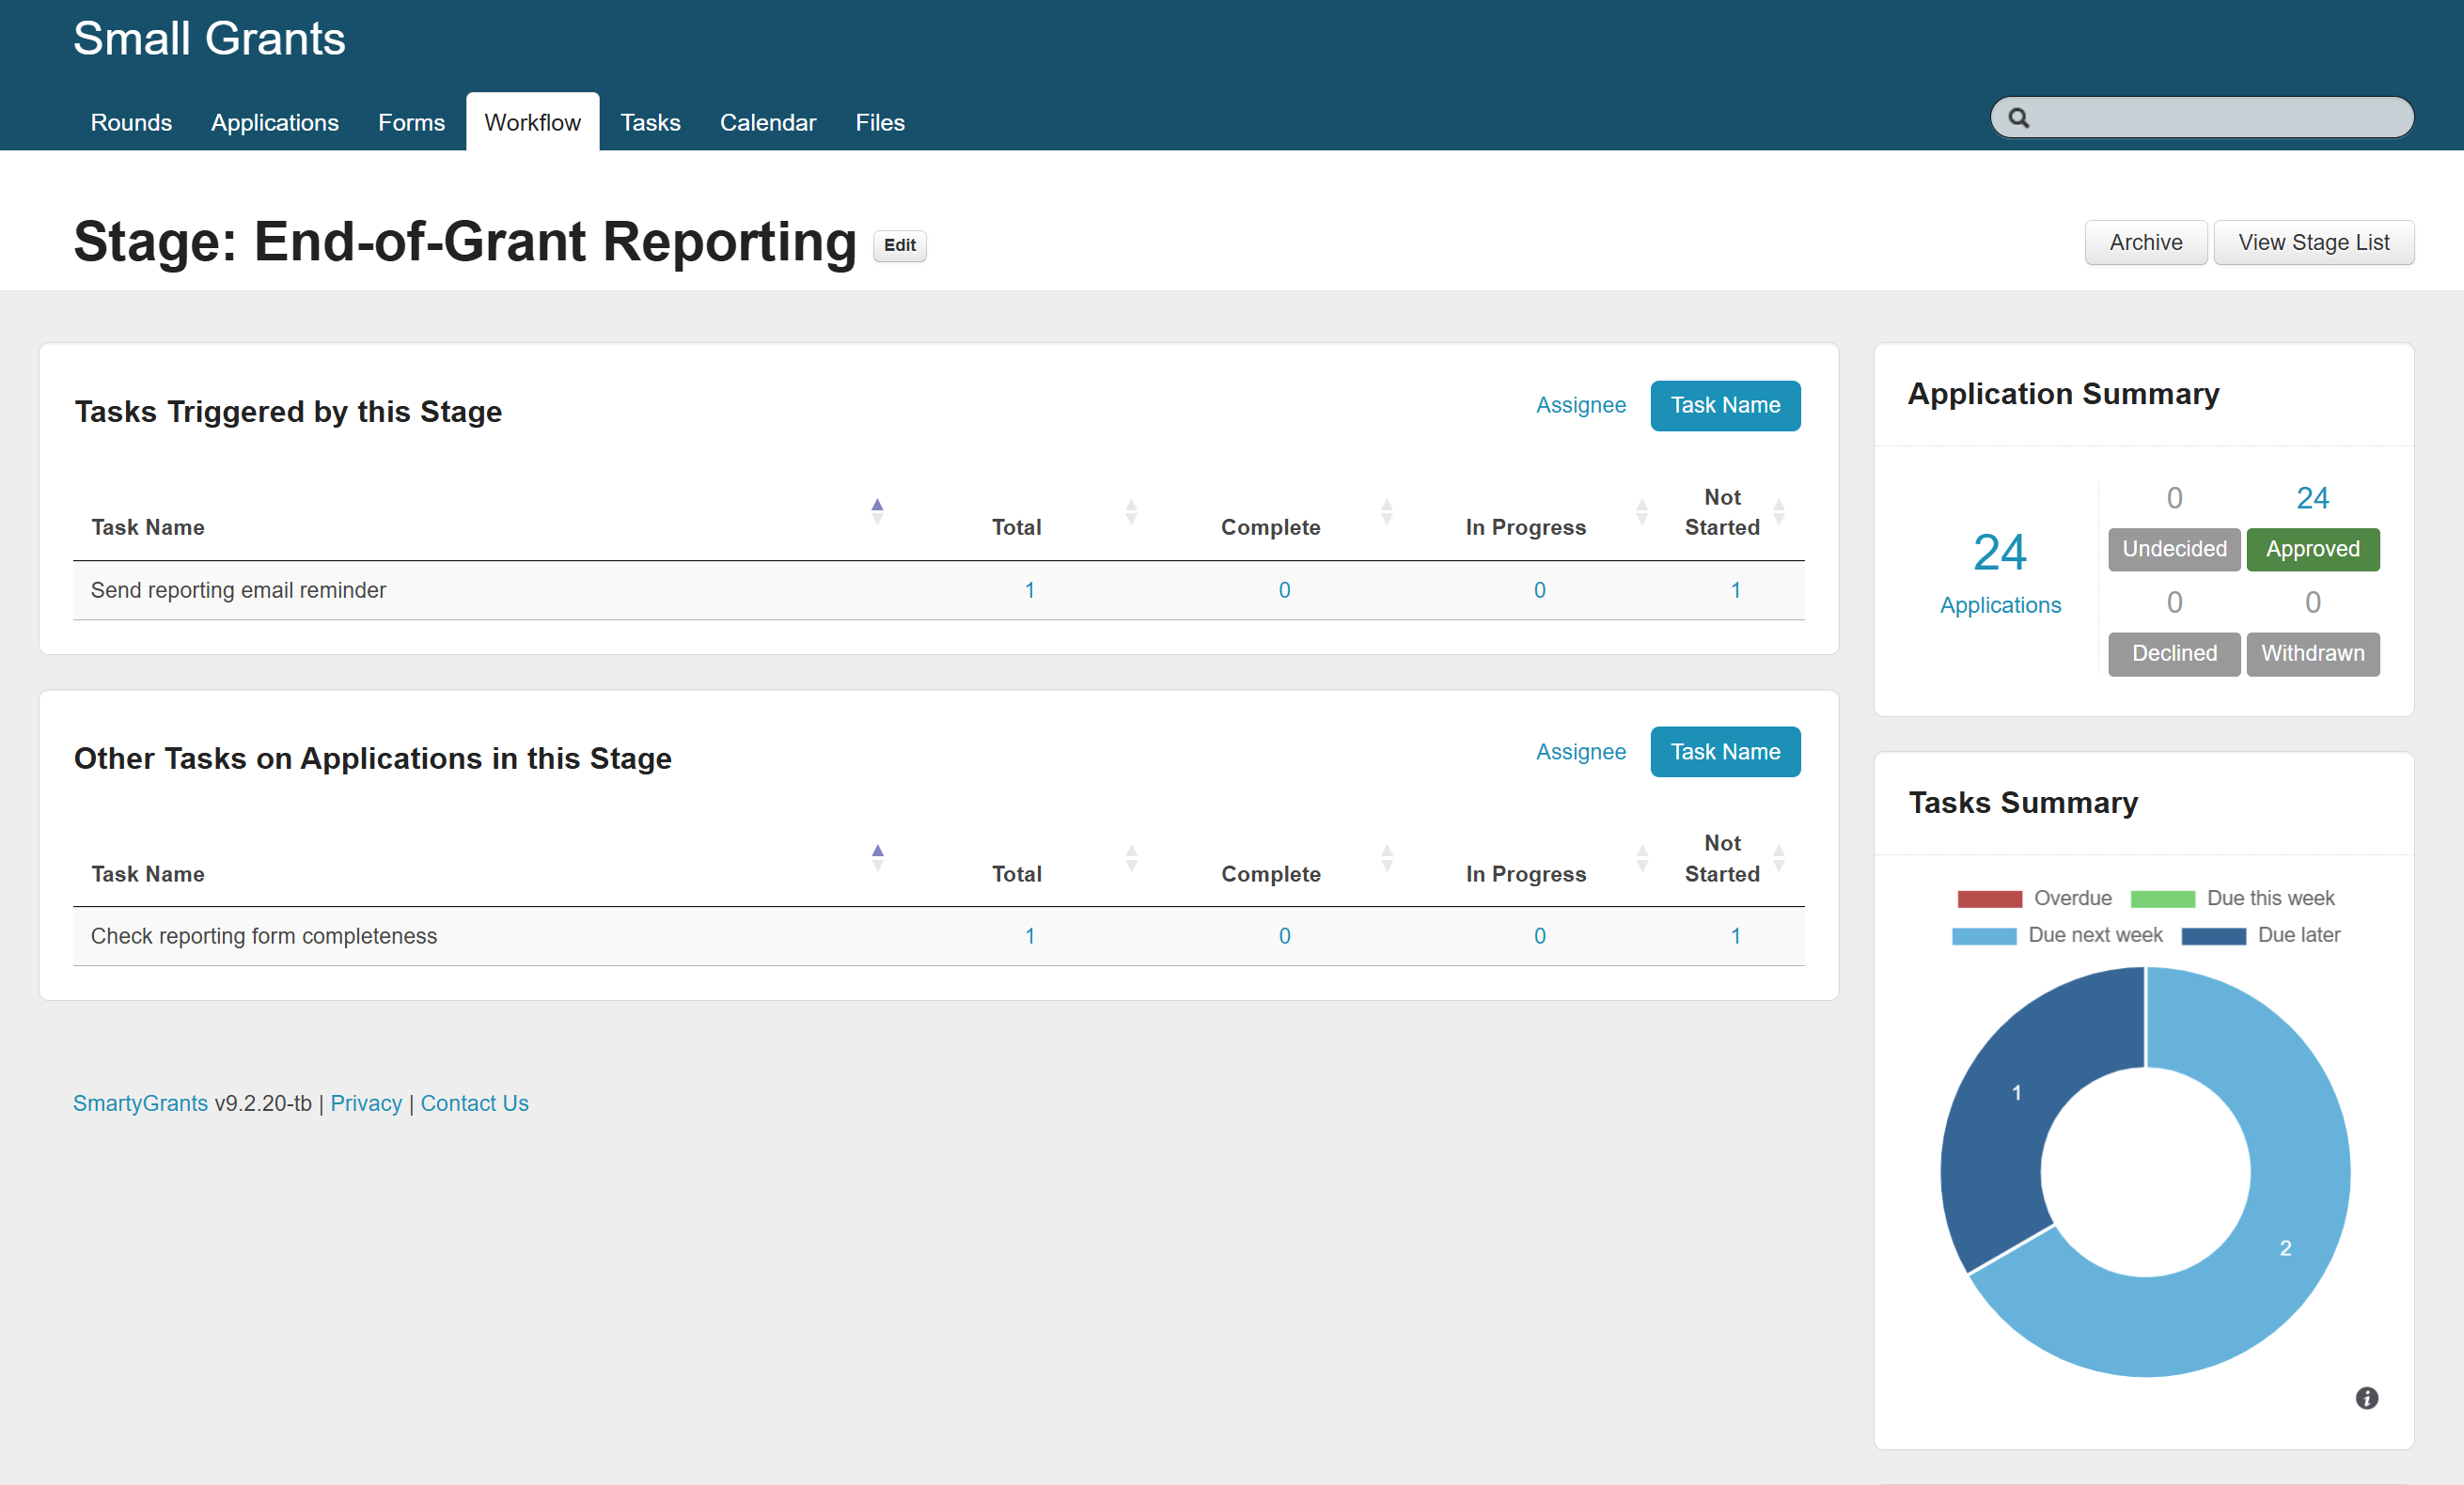
In the Stage overview, you can see:
how many applications are in the stage,
the decision status of applications in the stage, and
the tasks that have been created for applications within the stage.
Rules
A Rule automatically moves an application from one stage to another based on an ‘event’ in the system. In this way, they let you create simple automations within your grants process.
Rules can be triggered by the following events:
When a specific response on a form is submitted
When a decision is recorded
When a payment is approved
Example
Consider the following scenario:
I have set up two stages – Decision Management and End-of-Grant Reporting.
In this fictional grants process:
The first stage is for managing applications where a decision has not been finalised.
The second stage is for managing applications that have not yet returned a final report on how funding was used.
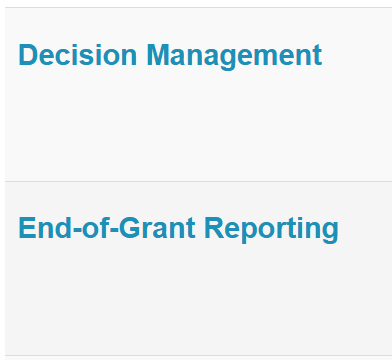
To begin, I create a rule called “Move approved applications”.
In the Create Rule screen, I tell the system that whenever an application’s decision is changed to Approved, to automatically move the application into the End-of-Grant Reporting stage.
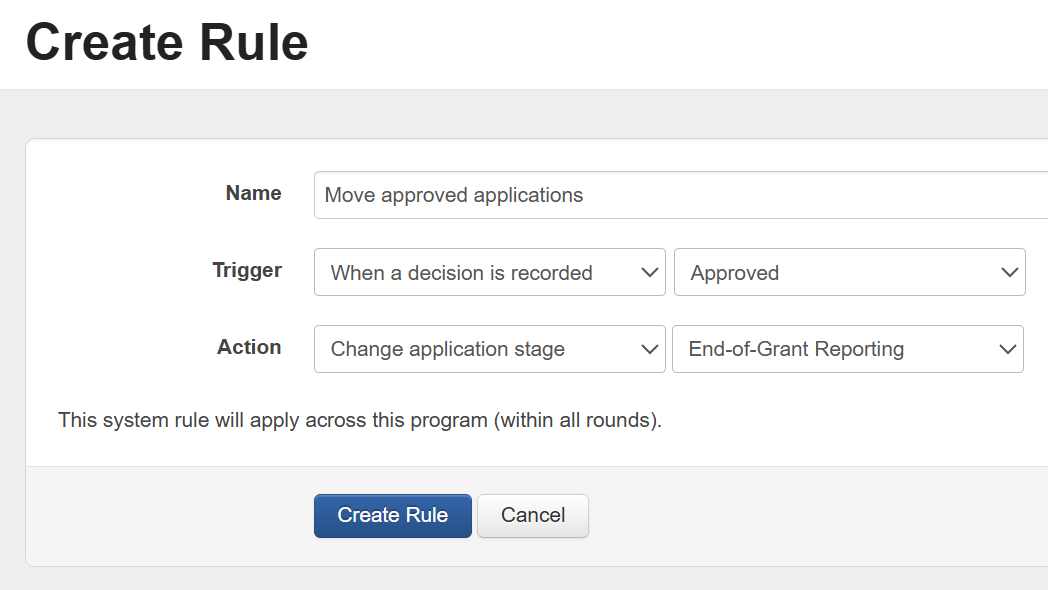
This example rule was designed to eliminate the need to manually change an application’s stage once it has progressed to the next part of the grant lifecycle.
Once the application is moved into a different stage, this can also trigger the automatic creation of Tasks.
Tasks
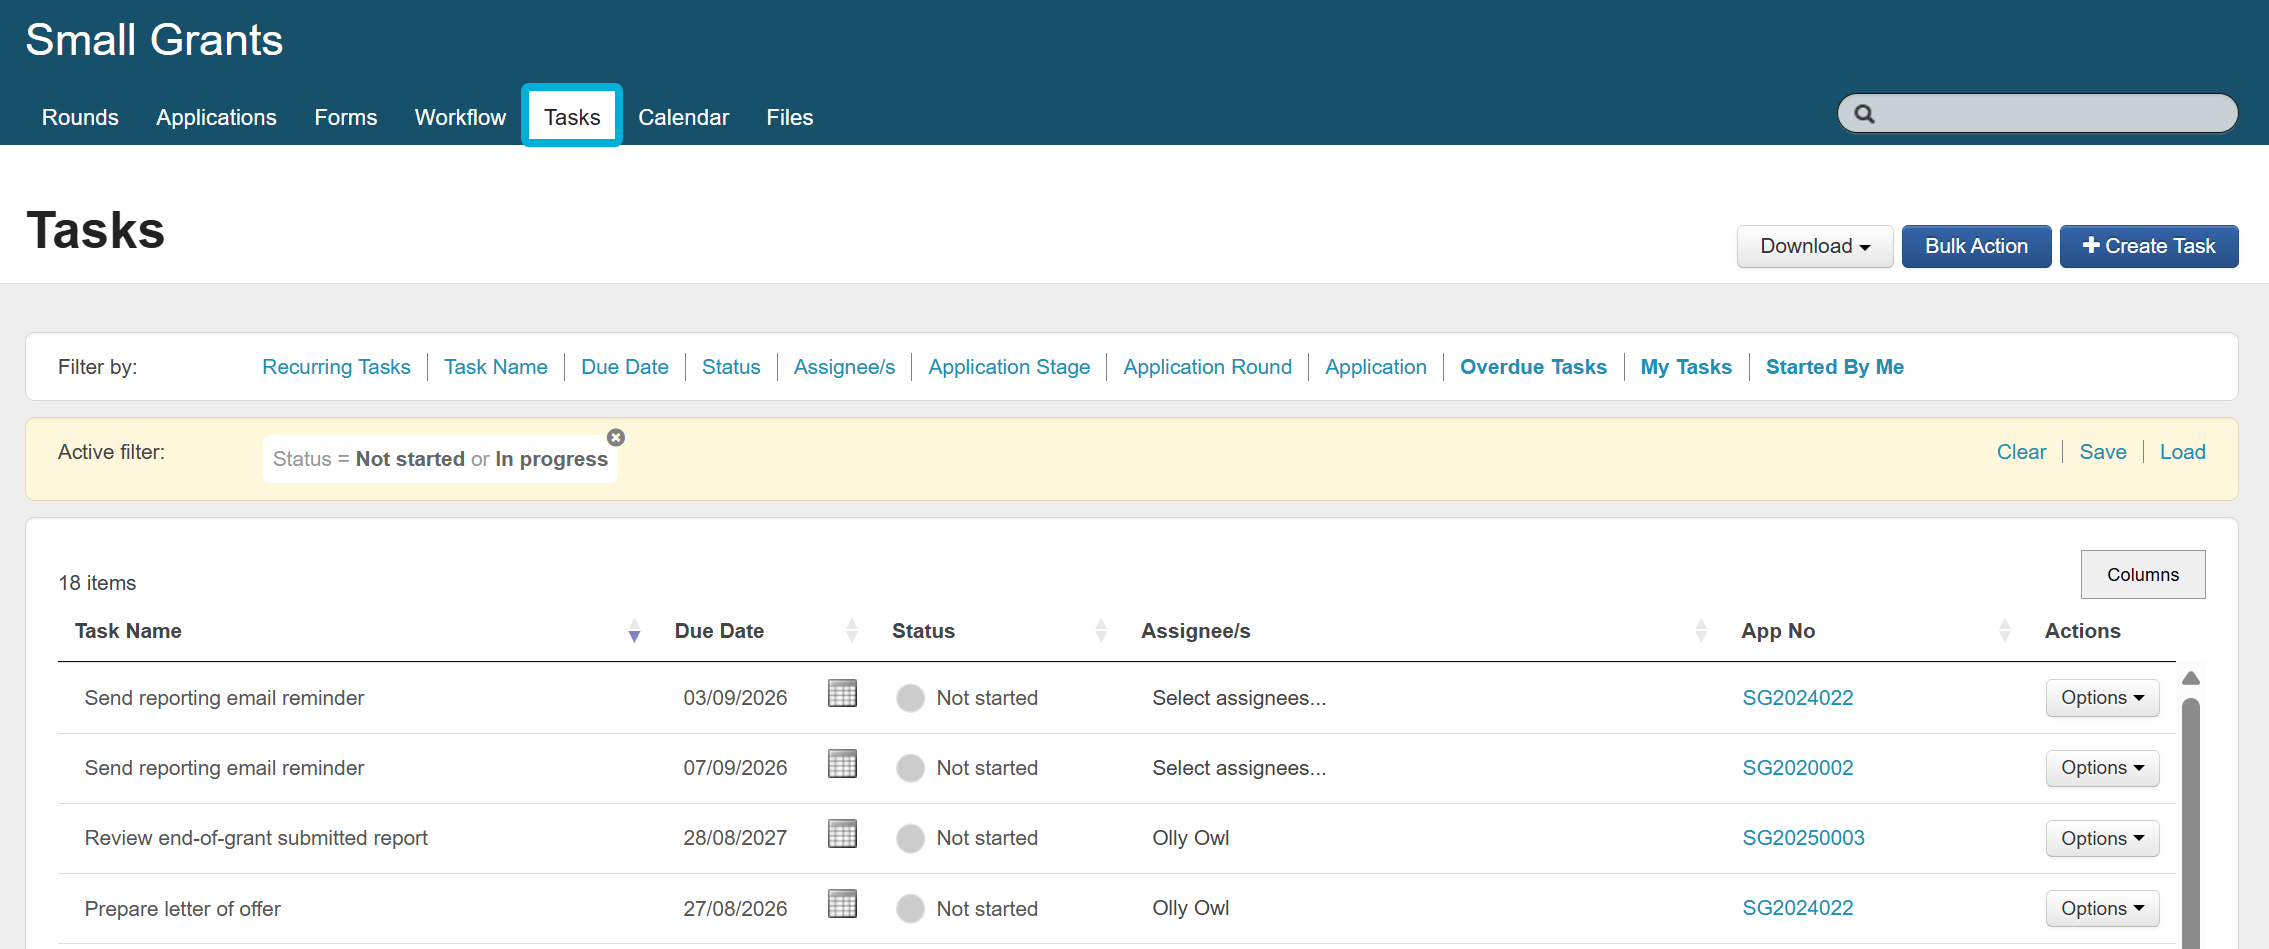
Tasks are the “to-dos” in your process. They help manage the necessary actions you and your team take as applications progress through the grant lifecycle.
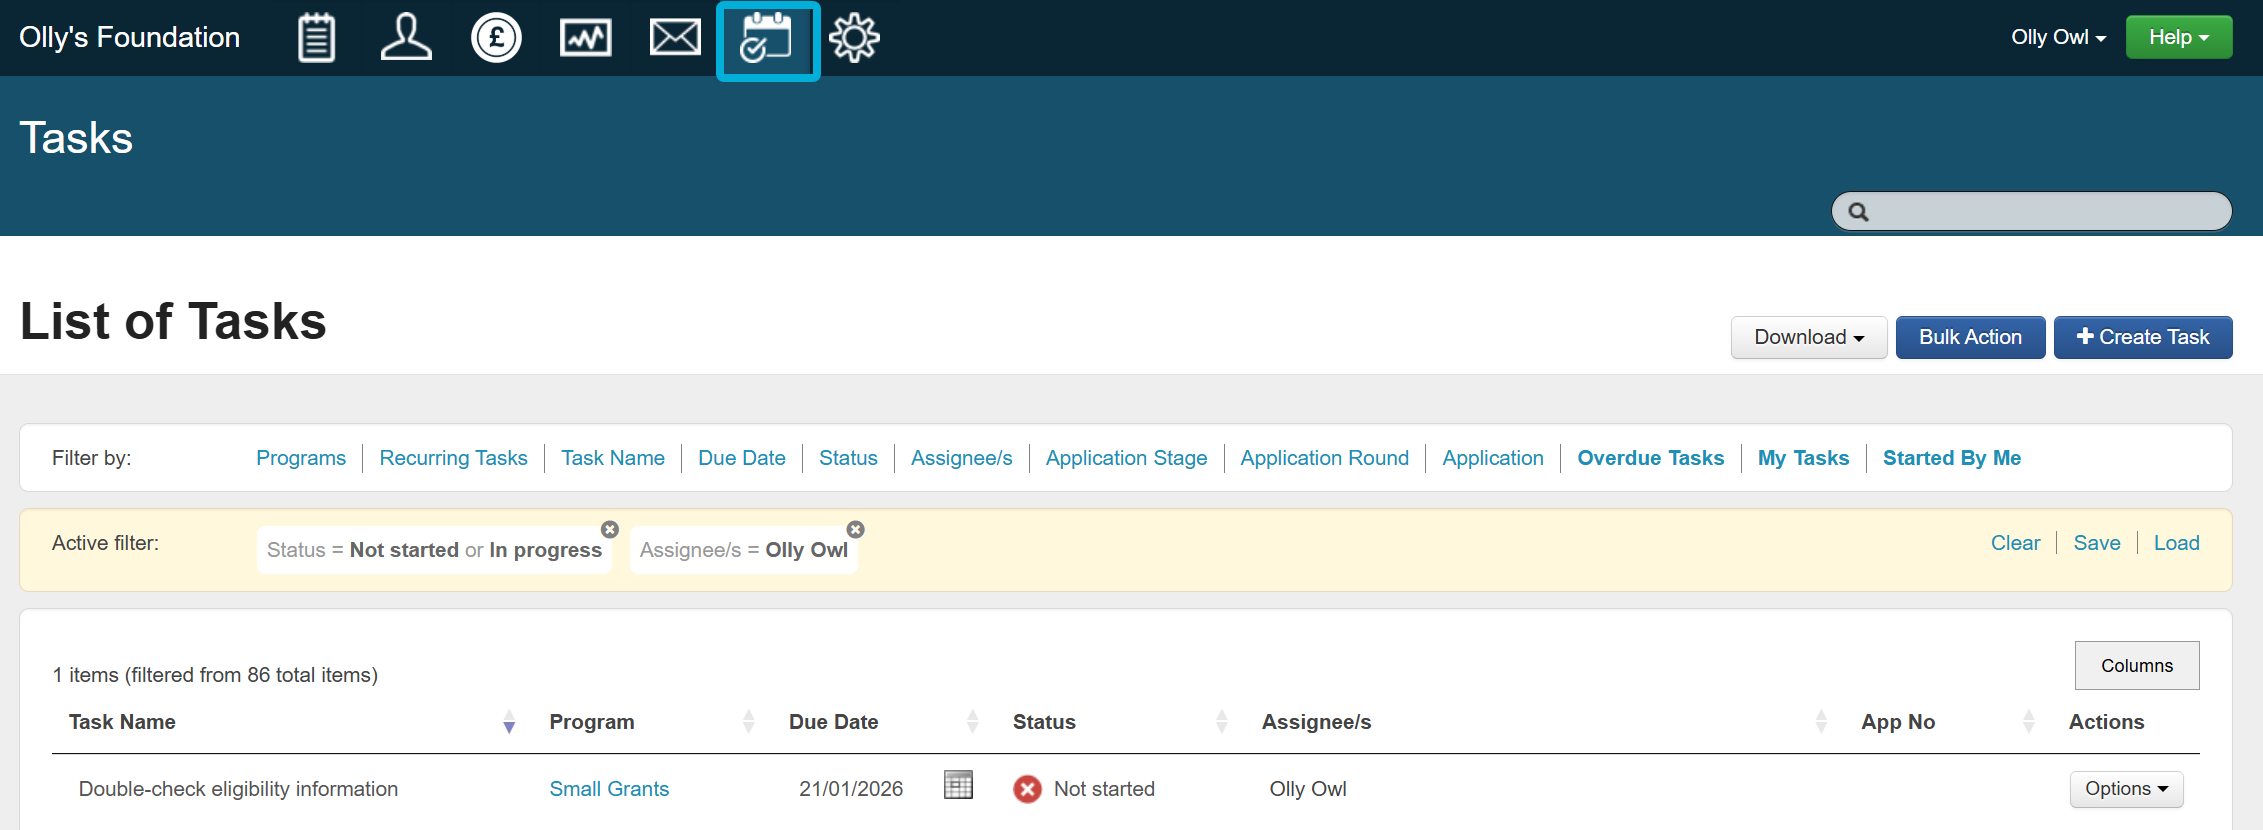
Tasks are for internal use only – your applicants cannot see them. Tasks live in your Workflow tab, but they can also be accessed via the Tasks (calendar) icon at the top of the page.
Task types
There are two types of tasks: Once-off and Recurring.
Once-off tasks are created manually.
These are great for ad-hoc reminders.
For example, you may set up a once-off task as a reminder to call an applicant in one week’s time.
Recurring tasks, however, use a template to automatically create tasks for you. A recurring task template will continue to generate tasks until you deactivate it.
These are great for tasks that apply to many or all applications.
For example, you may create a template named Complete Assessment that creates a task whenever an application enters a Stage named Assessment.
Creating tasks
When creating a task, you can control:
The name of the task
The deadline (and a deadline reminder, if a task is not yet completed)
Who must complete it, and how they are notified
What internal form(s) must be completed (if any)
For recurring tasks, you can also control how they get automatically created (the ‘trigger’).
Putting it all together
To help you understand how all three functions can be combined, review the below scenario.
For Small Grants Round 20XX, my goal is to ensure that when an application is ready to be assessed, two staff members who perform all our assessments – Olly Owl and Casey Crow – are automatically given an assessment task to complete.
To achieve this goal, I have set up the following Workflow elements:
A Stage called Assessment.
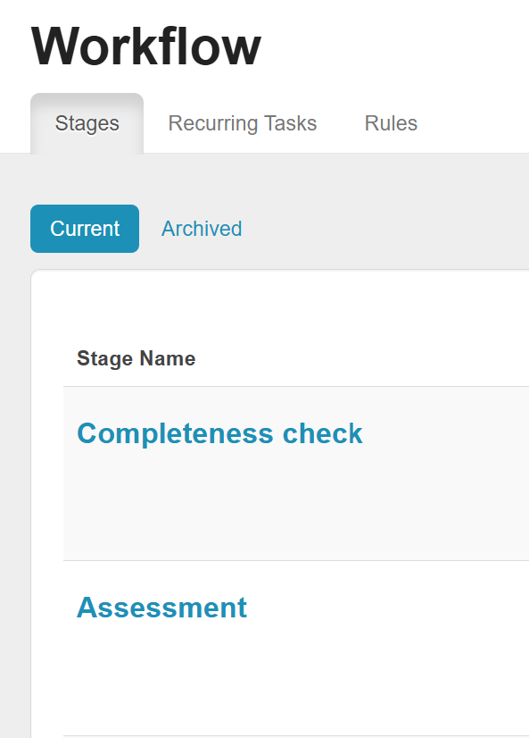
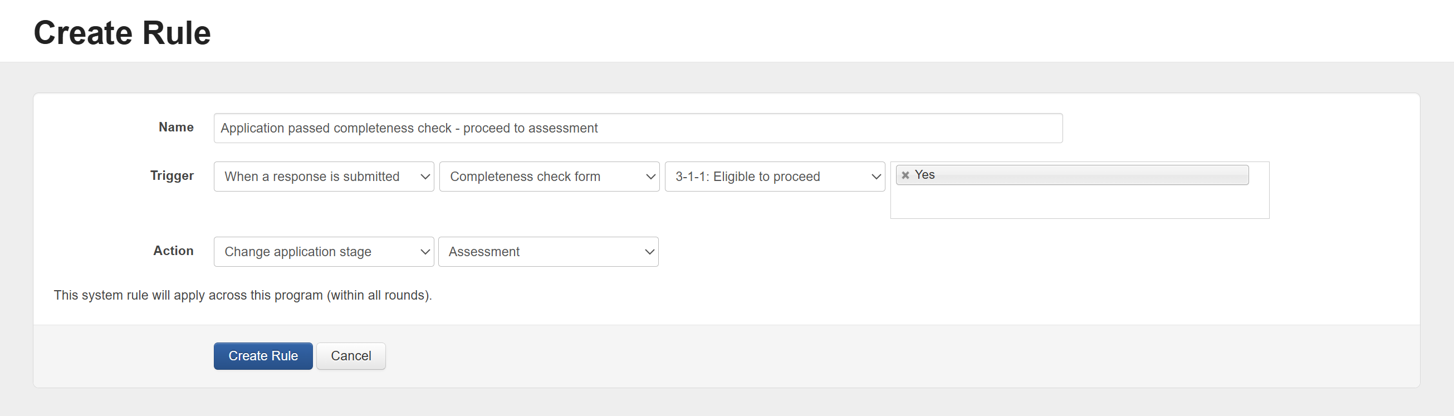
A Rule. The rule will move applications into the Assessment stage. It will only apply when:
The “Completeness check” form has been submitted, and
A response to a specific question on that form as been recorded.
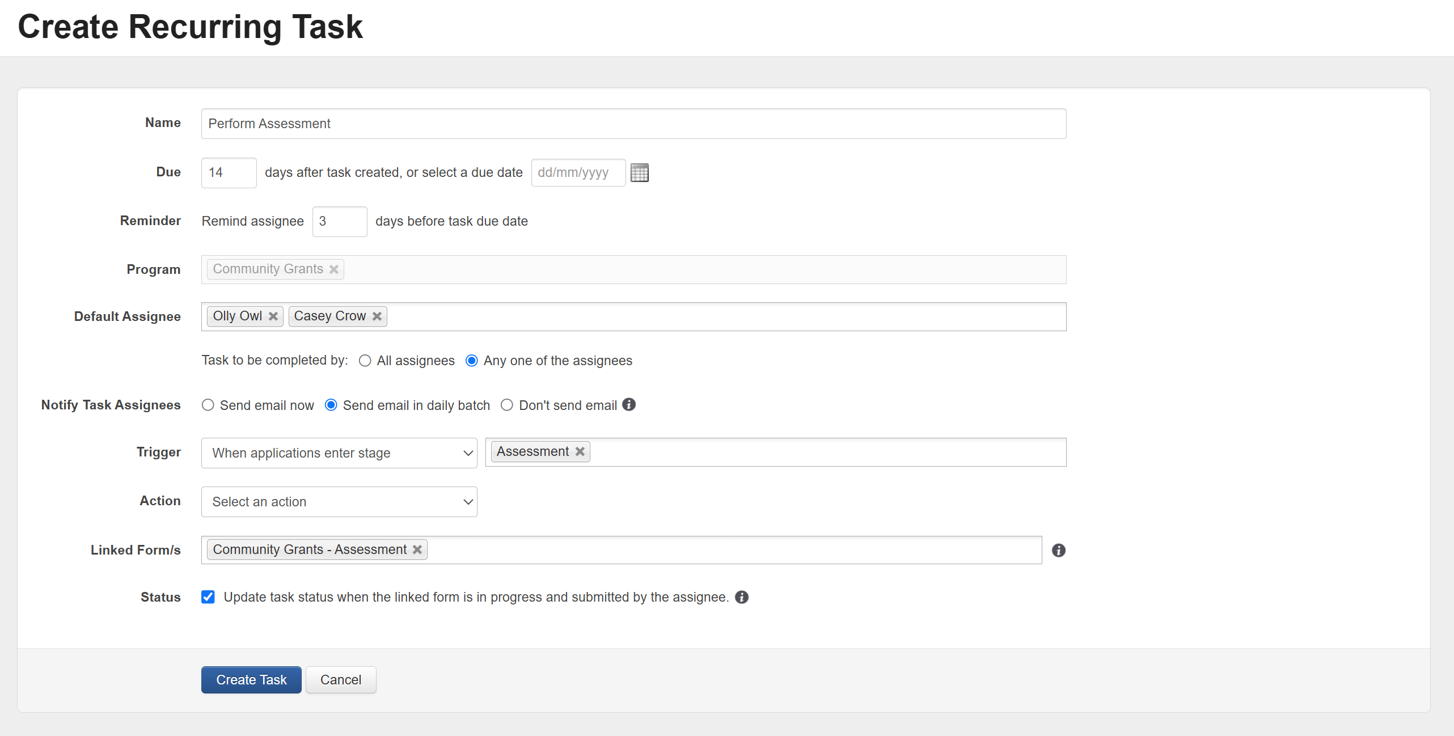
A Recurring task template. The template will automatically create a task whenever an application is moved into the Assessment stage. It will name this task “Perform Assessment”, associate this task with the application, and assign it to Olly Owl or Casey Crow for either of them to complete.
The final result is the process below:
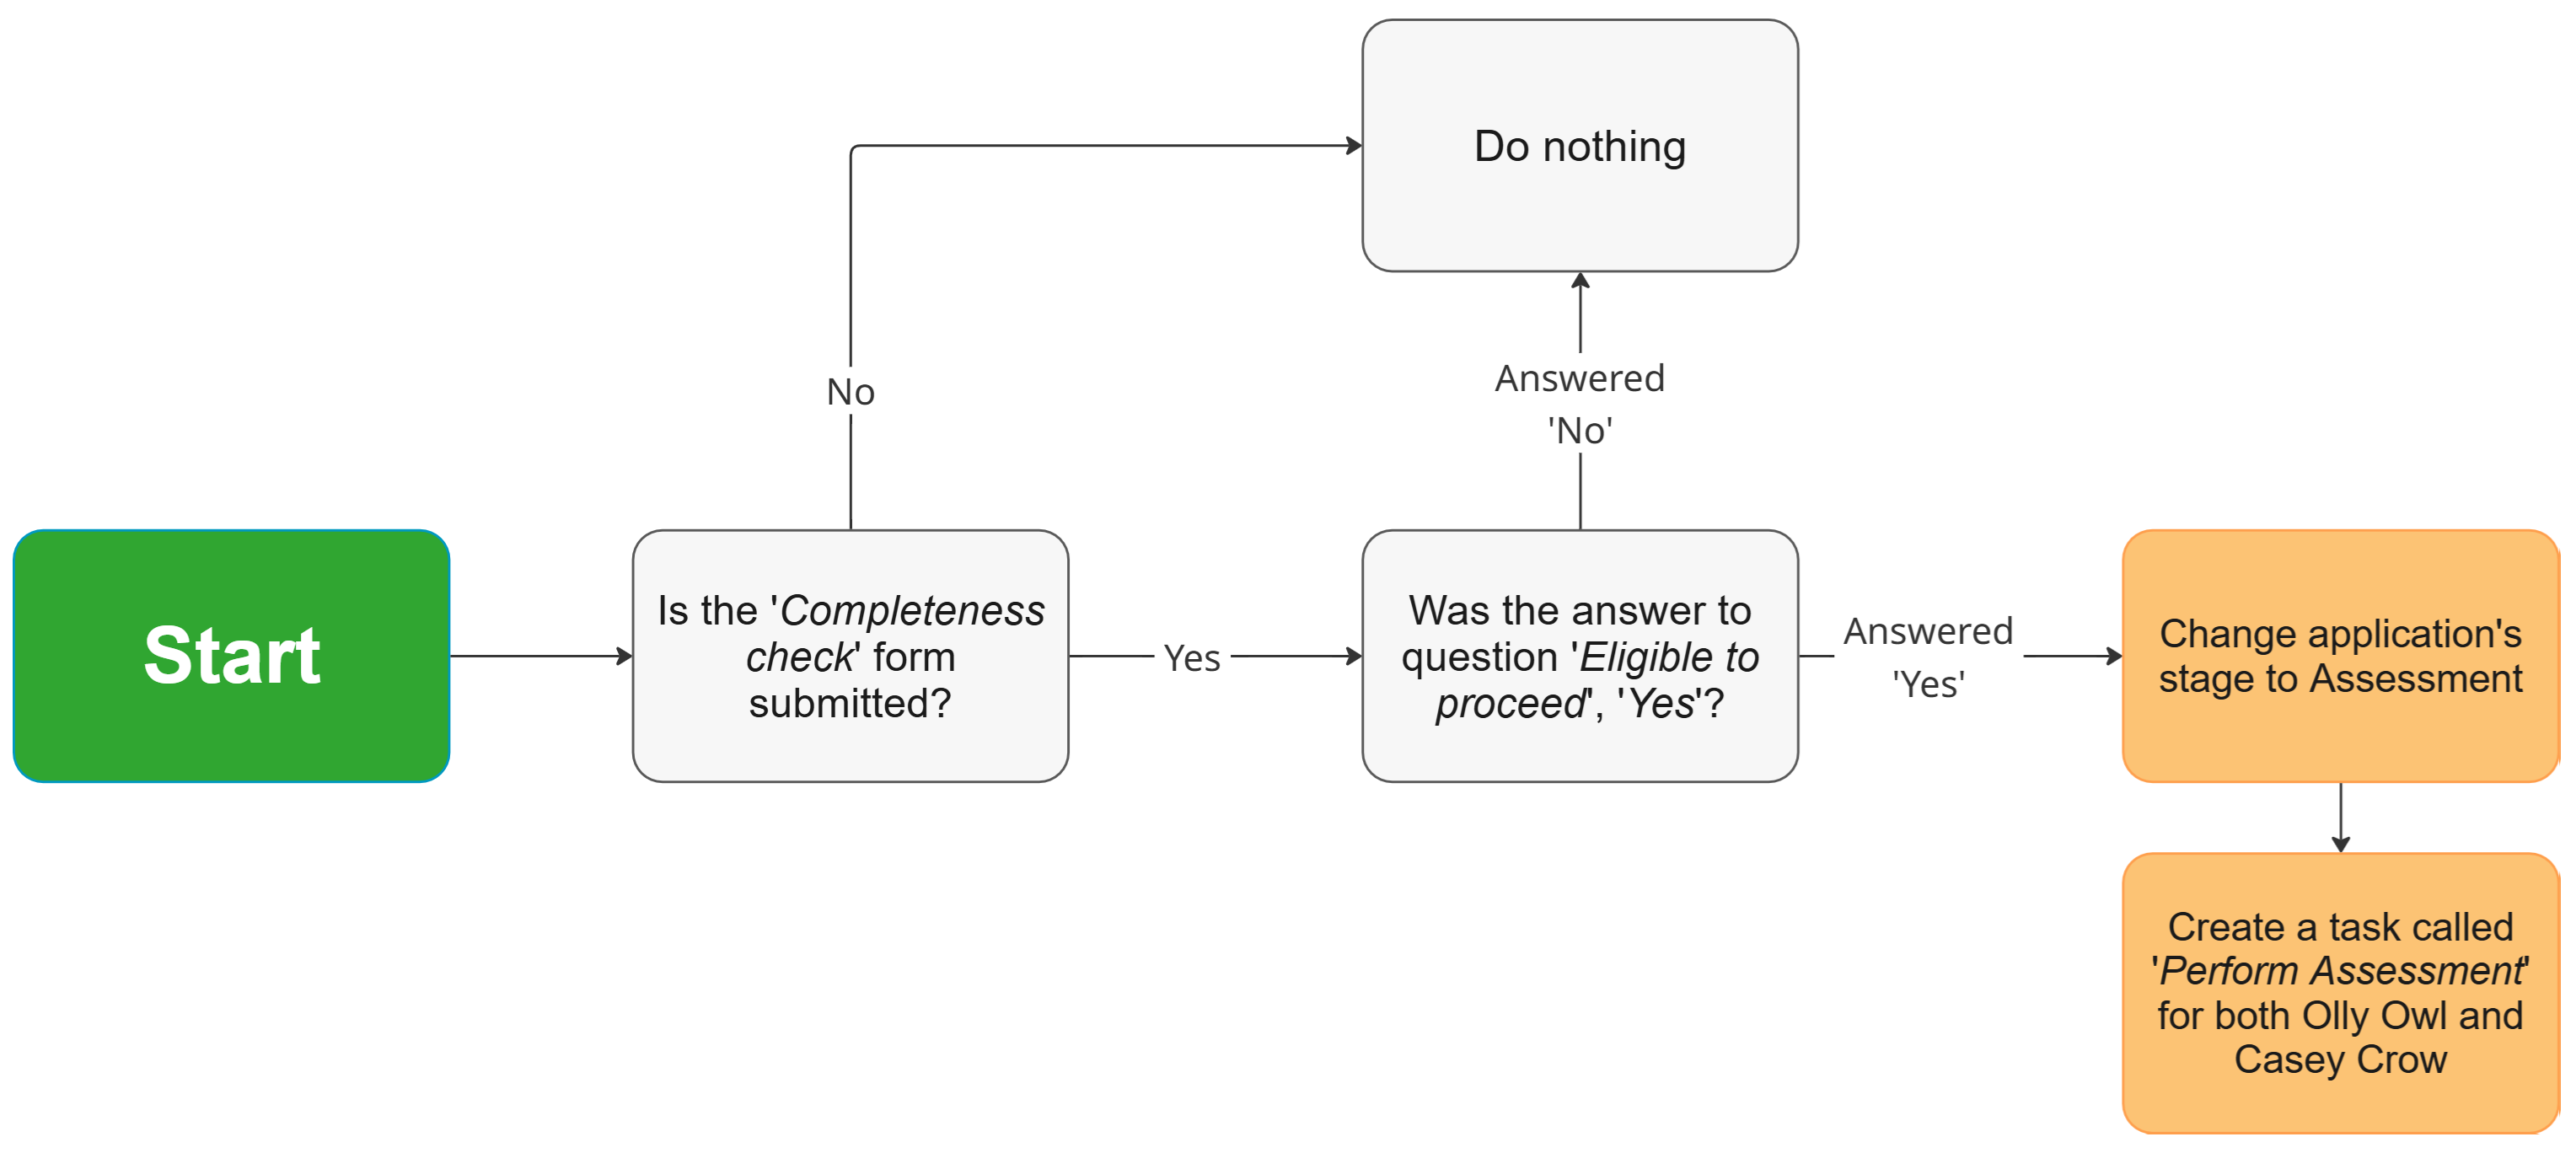
By using a combination of stages, rules and tasks, the initial goal has been achieved. The two assessors are now automatically given a task whenever they need to complete an assessment.
Where to next?
Head to Reports and Correspondence.